

Go to app.tig.ai and sign in to your workspace.
Step 1: Create an agent
Go to app.tig.ai/workflow and create a new agent.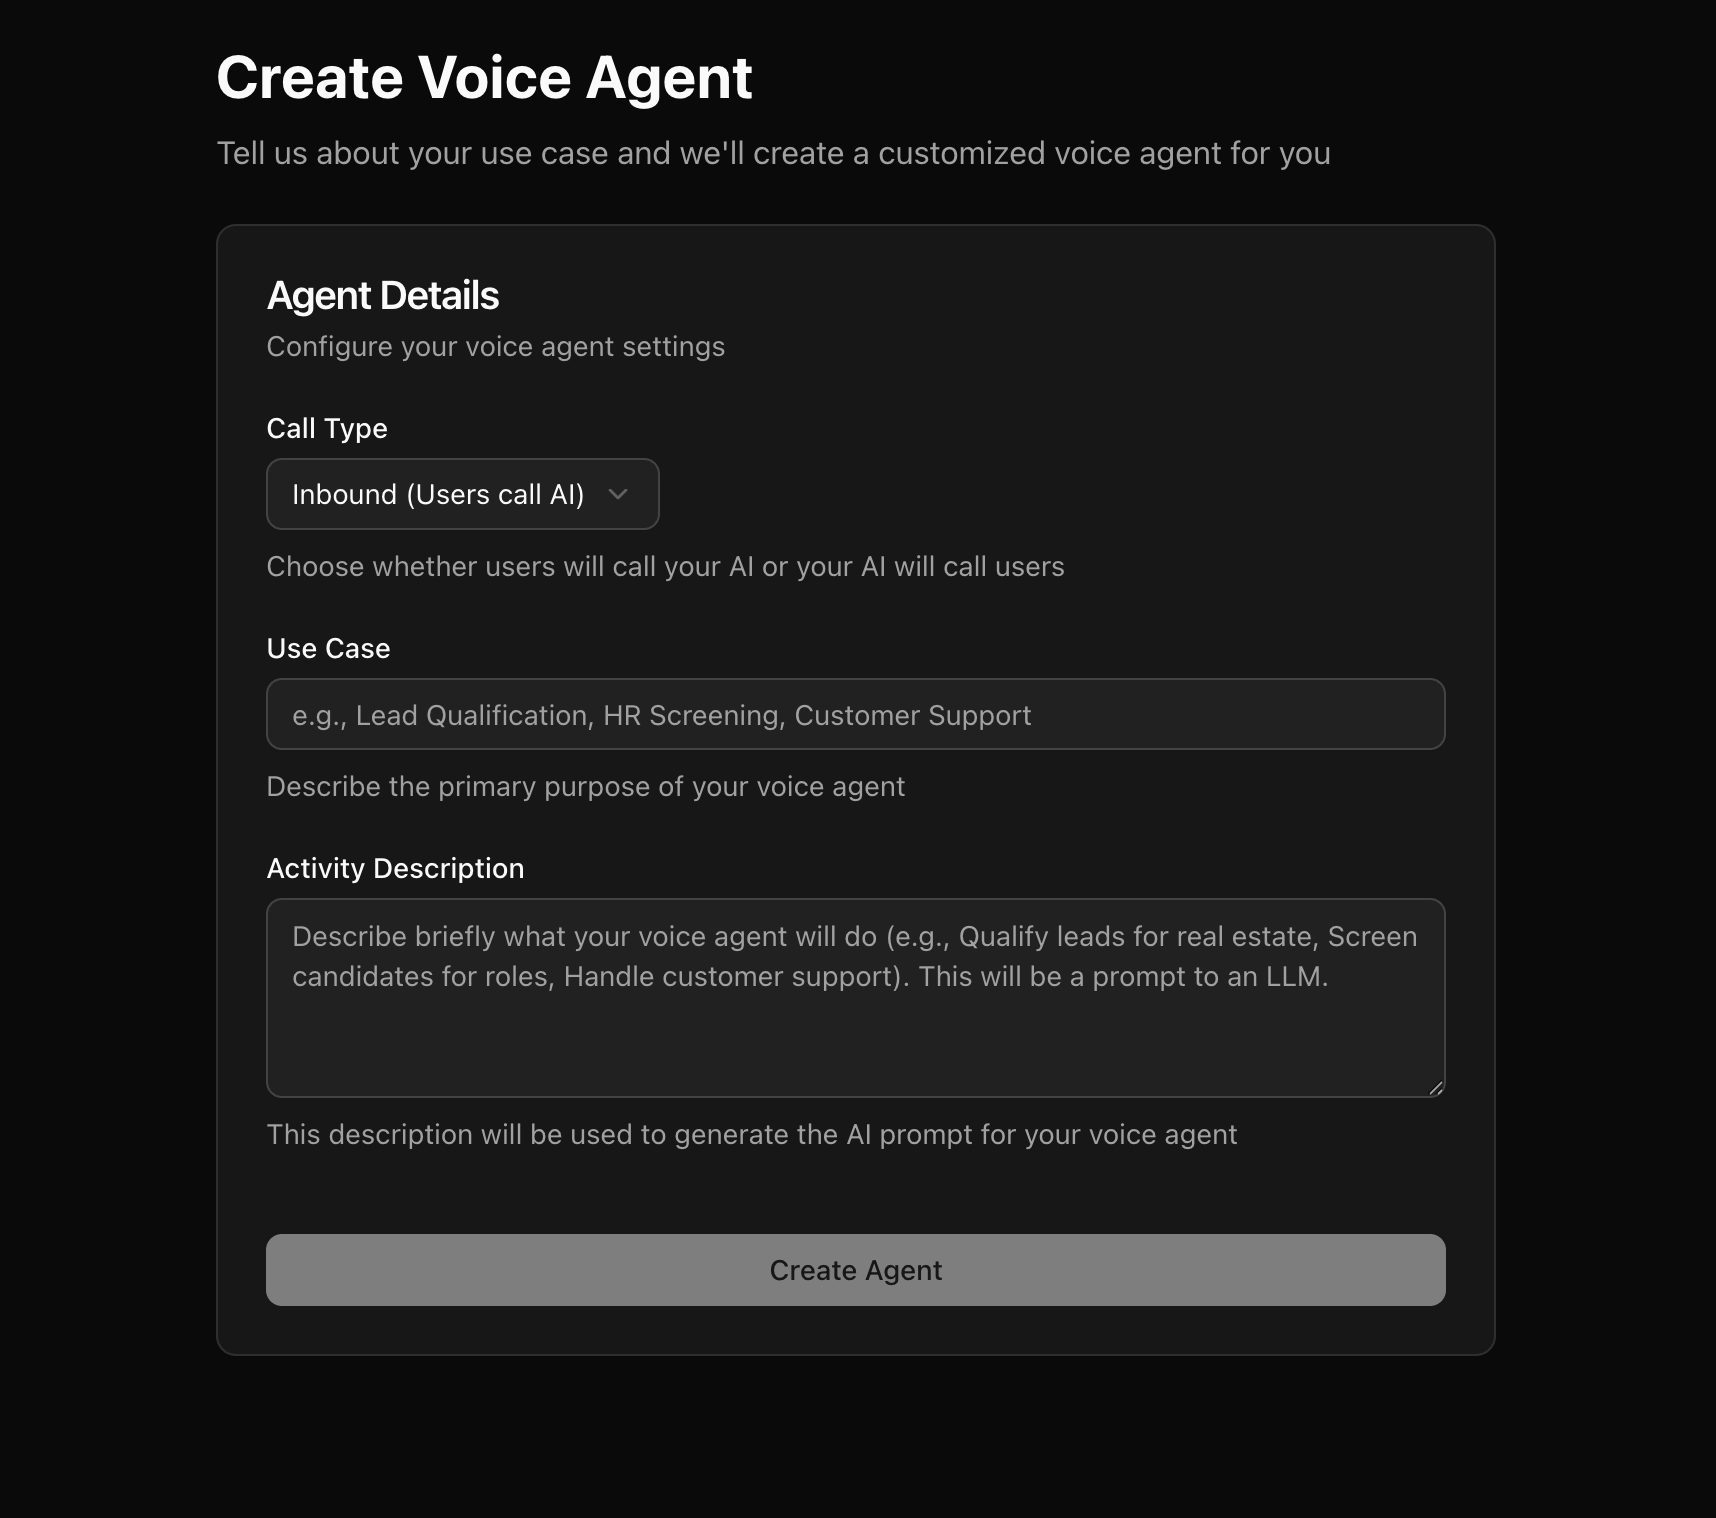
- Use case — a description of what the agent should do, e.g. “Answer customer questions, check order status, and route complex requests to a team member.”
Step 2: Land in the workflow editor
After generation, you’re dropped into the Voice Agent Builder with a graph already built for you — typically a Start Call node, one or more Agent nodes with prompts for your use case, and an End Call node, connected by pathways. You don’t need to understand the full graph model yet — the generated agent works out of the box. You can come back and customize prompts once you’ve heard it talk.Step 3: Talk to it with a Web Call
In the agent editor, start a Web Call. This runs the full pipeline — speech-to-text, LLM, text-to-speech — straight from your browser microphone, exactly like a real phone call would, just without a phone number. While the call is active, you can watch:- The live transcript as the conversation happens
- Node transitions as the agent moves through the graph
- Any tool calls the agent makes
Step 4: Iterate
Didn’t go the way you wanted? Open the node whose behavior you want to change and edit its prompt directly. Save, then start a new Web Call to hear the change immediately. No redeploy, no restart. Common first tweaks:- Adjust tone or wording in an Agent node’s prompt
- Add shared instructions (tone, objection handling) to the Global node
- Add a Webhook node to send call results somewhere once you’re happy with the flow
Next Steps
You have a working agent that runs entirely in the browser. From here:- Take real calls — connect a telephony provider and configure inbound routing.
- Learn the graph model in depth — see Voice Agent Builder for all node types and how pathways work.
- Give it tools — let the agent call external APIs or transfer calls with Tools.
- Embed it on a website — skip telephony entirely and let website visitors talk to the agent via Add to Website.